

How To Draw A Spotted Bat Step By Step
Bats take captured the imaginations of millions of people worldwide over the years. These winged creatures of the nighttime are often used in Halloween imagery or seen flying around spooky castles in movies.
Despite this reputation, they tin ofttimes be quite cute in real life, and many people love the await of these winged rodents!
If you're one of the millions of bat fans in the world, you would probably similar to acquire how to draw a bat. If so, you're in the right place!
Nosotros created this easy stride-by-step guide on how to draw a bat in nine easy steps to make drawing a bat fun and simple for you to learn.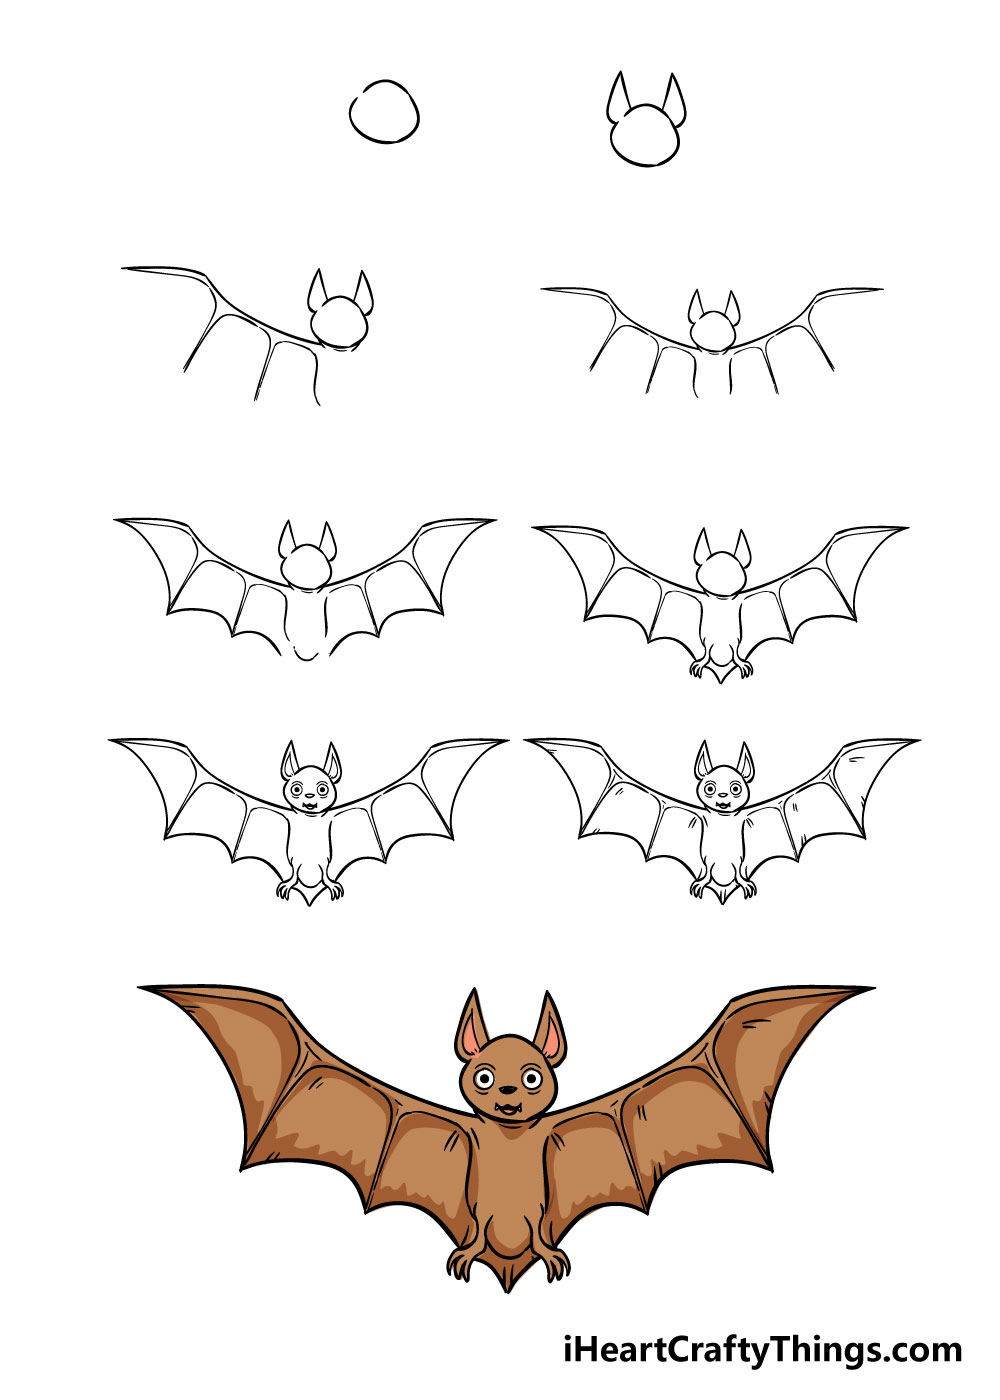
What's in this Blog Post
- How to Draw a Bat – Let'due south become Started!
- Step 1
- Step ii – Draw in the bat'south ears
- Footstep iii – Next, draw in the top of the left wing
- Stride 4 – Now draw in the opposite wing
- Footstep v – Next you will be adding the bottoms of the wings
- Step 6 – Next yous volition be adding in some legs
- Step vii – Now draw in the bat's face
- Step 8 – Add together in the final details
- Step 9 – Now finish it off with some colour
- Your Bat Drawing is Complete!
How to Draw a Bat – Permit's get Started!
Pace 1
For the first step in learning how to depict a bat, we will be starting off with a small circle.
The circumvolve doesn't have to be perfect, and using a slightly ragged line for your circle volition make your bat look a little furry.
Be sure to leave a small gap in the circle in the aforementioned place as in the reference image!
Step 2 – Draw in the bat's ears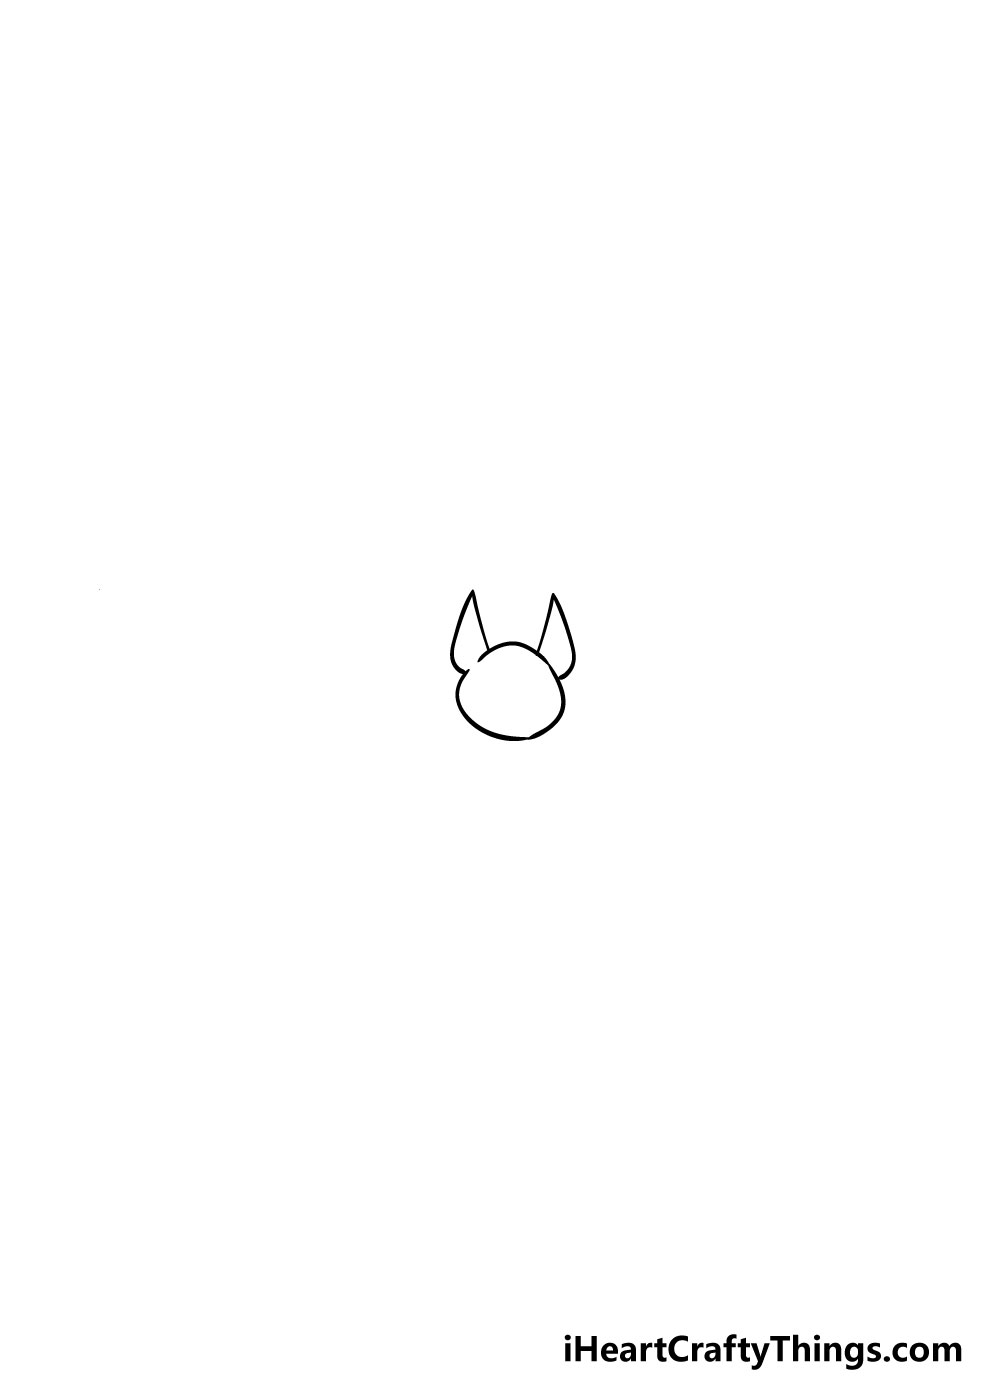
In one case you accept the head of your bat cartoon, you can add the pointy bat ears to information technology.
To exercise this, just draw in two straight lines with ii curved ones coming down from them every bit yous tin run into in the prototype.
Footstep 3 – Adjacent, draw in the top of the left wing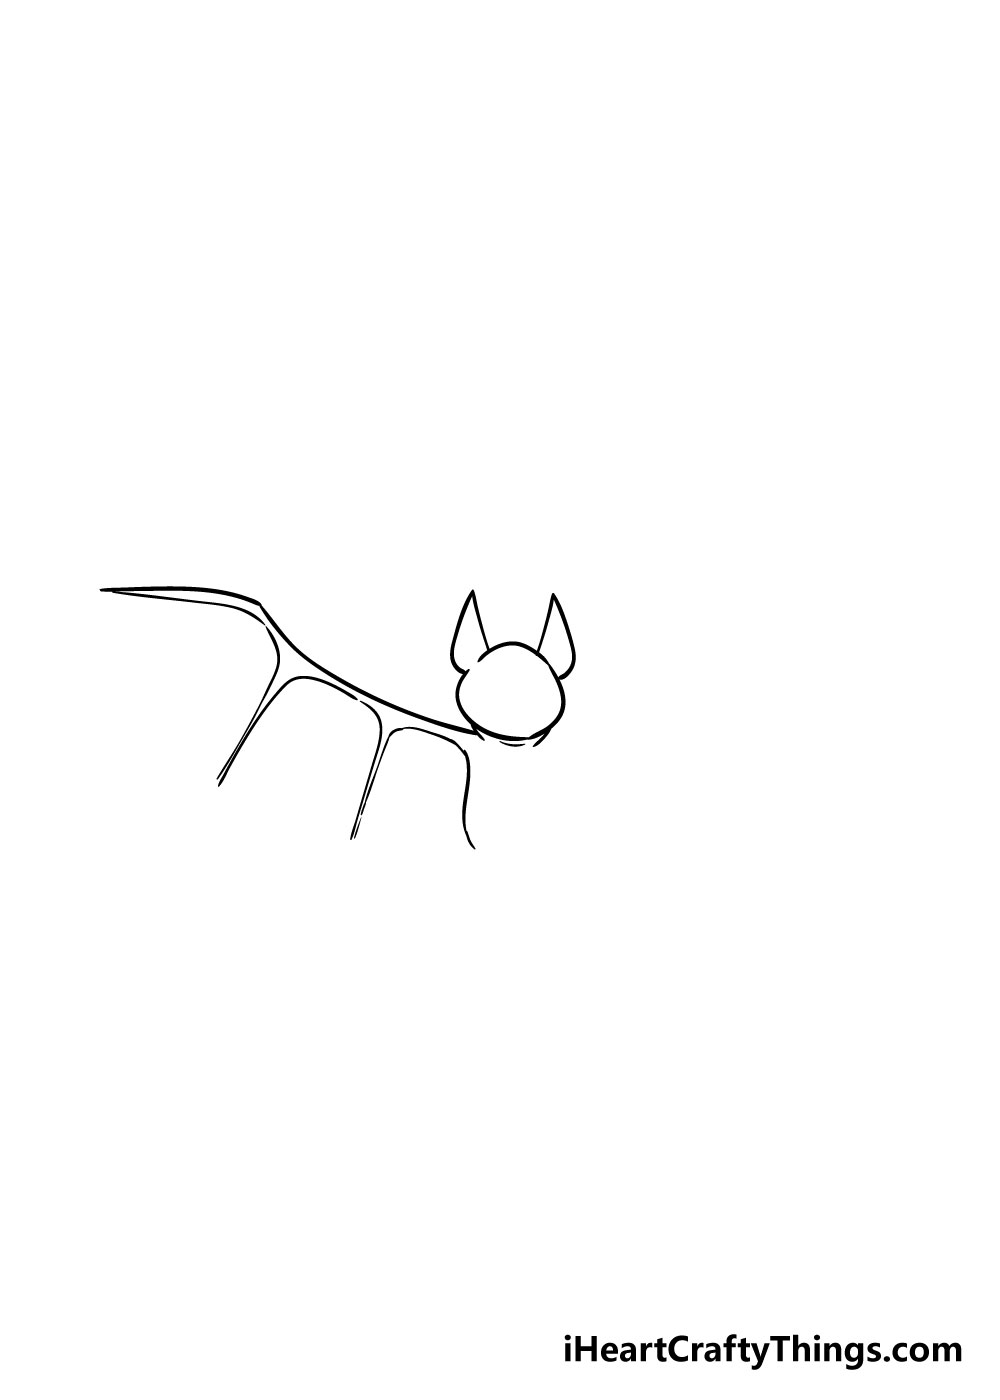
At present that you lot have the head and ears of your bat drawing, you tin can start to depict in the first wing. Following the reference motion-picture show will be very helpful for this phase!
Going slowly and carefully, depict in the frame of the wing equally you can run across it in the picture. You will be using a combination of straight and curved lines to do this.
It tin be a bit tricky, and so there's no demand to rush it!
If you're having a hard time with this step, you could describe with a light pencil first before going over information technology in pen.
Step 4 – Now draw in the reverse fly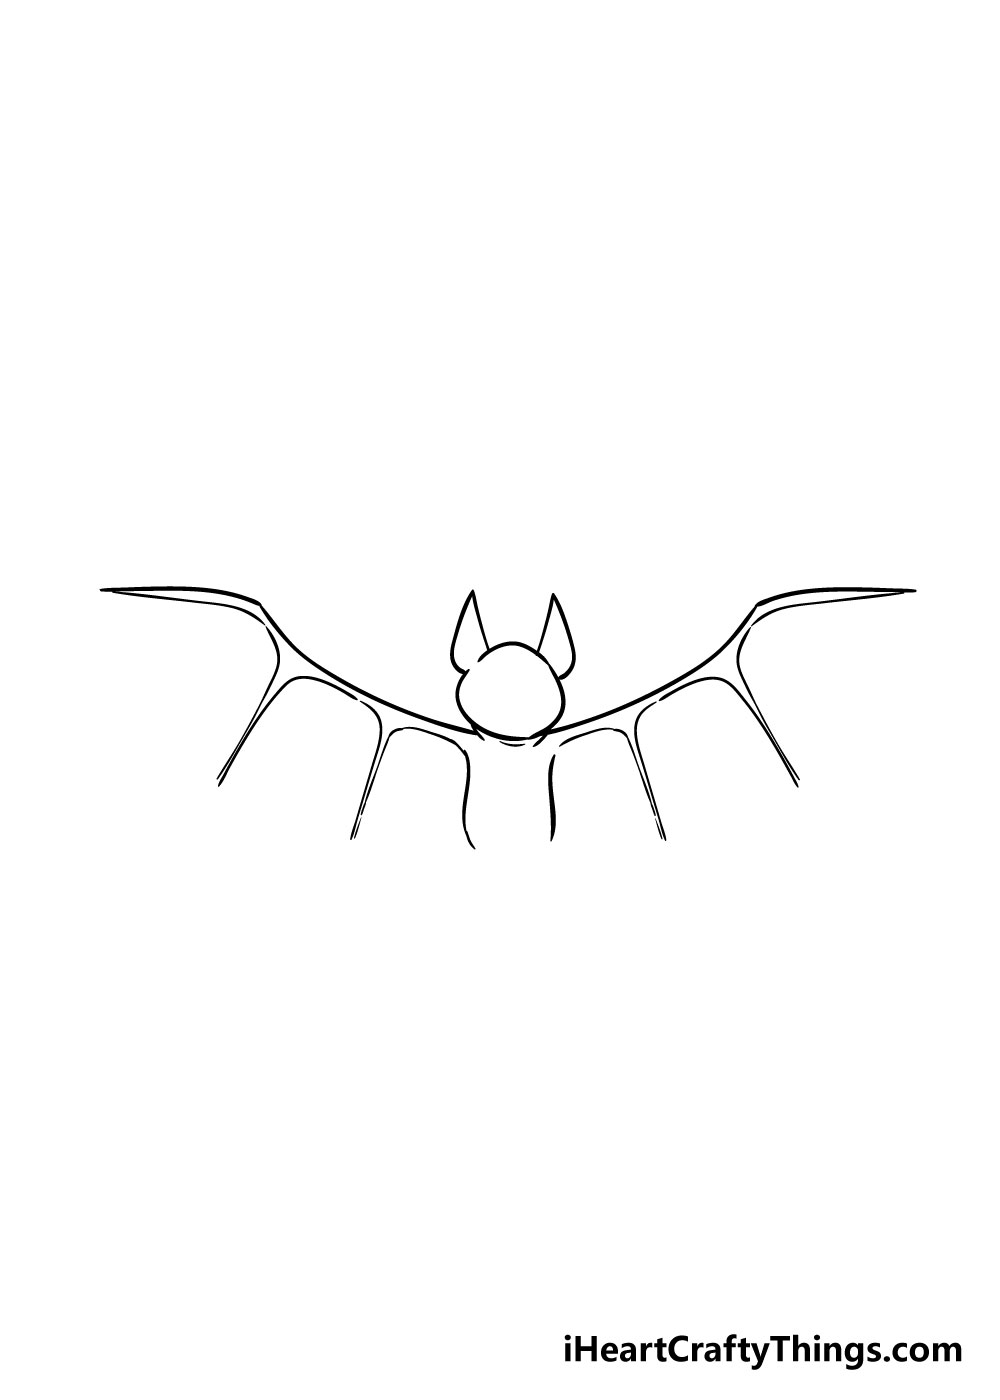
Y'all've drawn in the offset wing of your bat drawing, and then now all you need to do is create a mirror image of the fly on the contrary side.
Simply re-create exactly what you did in pace 3 but reversed and you'll have both wing frames in no time!
Step 5 – Side by side you will be adding the bottoms of the wings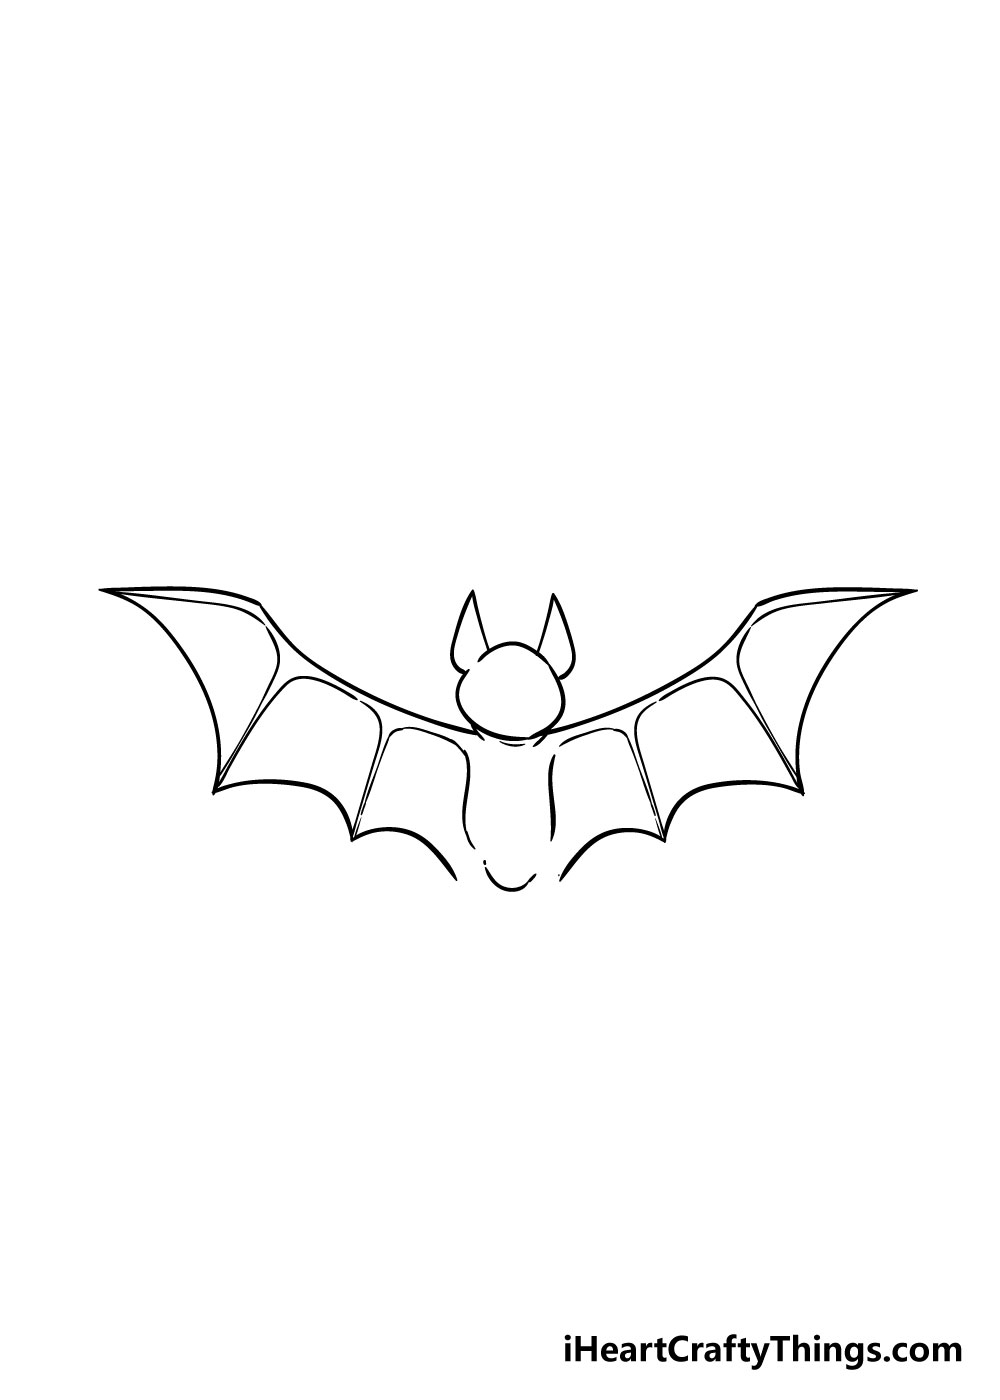
With the frames of the wings drawn in, yous tin now add together in the webbed bottoms of the wings.
To practice this, simply add together in some curved lines between the points of the wing frames every bit you tin meet in the flick.
Once y'all take the webbed parts of the wings added, you can add together in a small line for the lesser of your bat's torso.
Step 6 – Next you will exist adding in some legs
You've almost finished your bat drawing at this stage, and so for the next few steps we will be adding in the finishing touches and a few last elements.
For the sixth step in this guide on how to draw a bat, nosotros volition be adding in the legs of the bat.
Using some curvy lines and points simply draw in the small legs with little sharp claws at the end of them like you can see in the motion picture.
Once the legs are done, you can draw in a pointy line underneath them to stand for the lesser of the fly.
Step 7 – Now describe in the bat's face
For this adjacent step, we volition be adding in a cute face up for your bat drawing. Using circles and some smaller lines, you can starting time add together in some optics for your bat forth with a lilliputian nose and mouth.
You can closely adhere to the picture show and attempt to draw information technology that way, but you could also become creative with the expect and change the facial expression of your bat drawing.
One time the confront is drawn in, you can describe in the inner ear section of your bat's ears.
Step eight – Add in the final details
Your bat drawing is near finished at present! All that's needed now is to add in some small lines to the leathery soft parts of the wings to brand information technology look similar the peel is stretched between the frames of the wings.
With that final set of details, we will be finishing off your crawly bat drawing in the adjacent step!
Step ix – Now finish information technology off with some color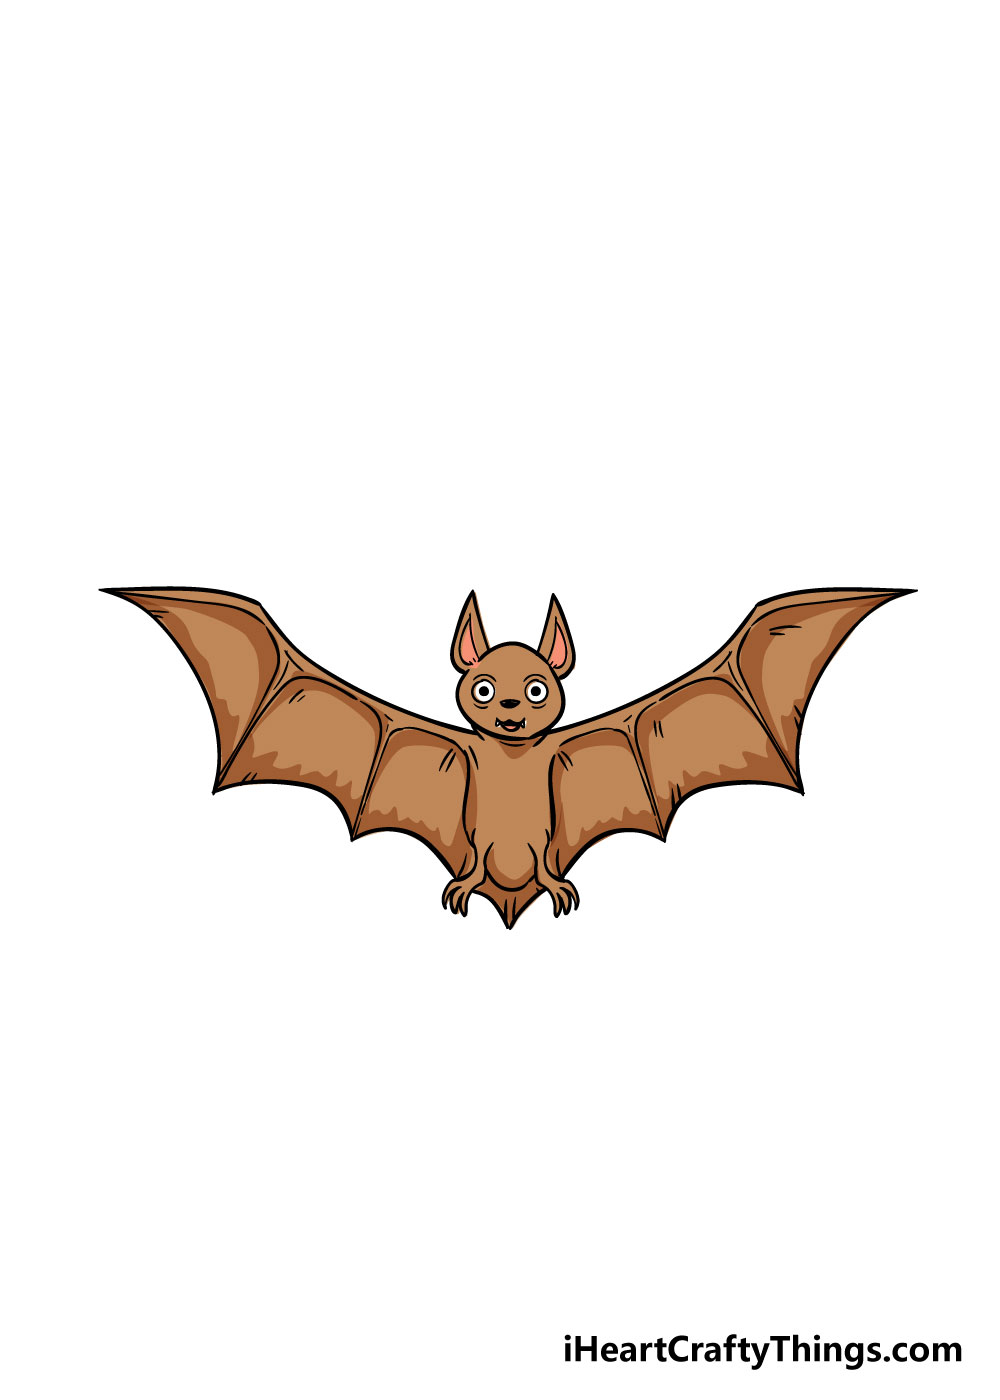
To stop off your amazing bat drawing, all it needs at present is some color! This is where you tin can really show off your artistic skills and let your imagination run wild.
We've shown one style you tin can color it in with our reference motion-picture show, simply yous should let your inspiration accept over and utilise all of your favorite colors!
You tin further personalize your drawing by giving it a cool background equally well.
Possibly you could color in the background a dark blue with a vivid yellow moon to make it look like your bat is flying through the night sky!
You could besides take some fun with different fine art mediums at this stage. Mediums such as watercolors, acrylic paints, colored pens and pencils can exist lots of fun to utilize for some bang-up color variations!
Your Bat Drawing is Complete!
We hope that this simple step-by-stride guide on how to draw a bat in 9 easy steps was helpful and fun for you lot to use!
Drawing a bat may seem like a catchy flick to take on, just by breaking information technology downward into manageable steps, nosotros hope that it was fun and like shooting fish in a barrel for you to acquire.
Now that you tin draw a beautiful bat, you can add together your ain touches to your drawings by adding in new backgrounds, colors and art mediums. The but limit is your imagination, so permit it run wild!
Once yous've fatigued and colored in your bat drawings, nosotros hope that you will share them to our Facebook and Pinterest pages for u.s.a. to see!
We always love to come across your colorful creativity and can't wait to run across your awesome bats!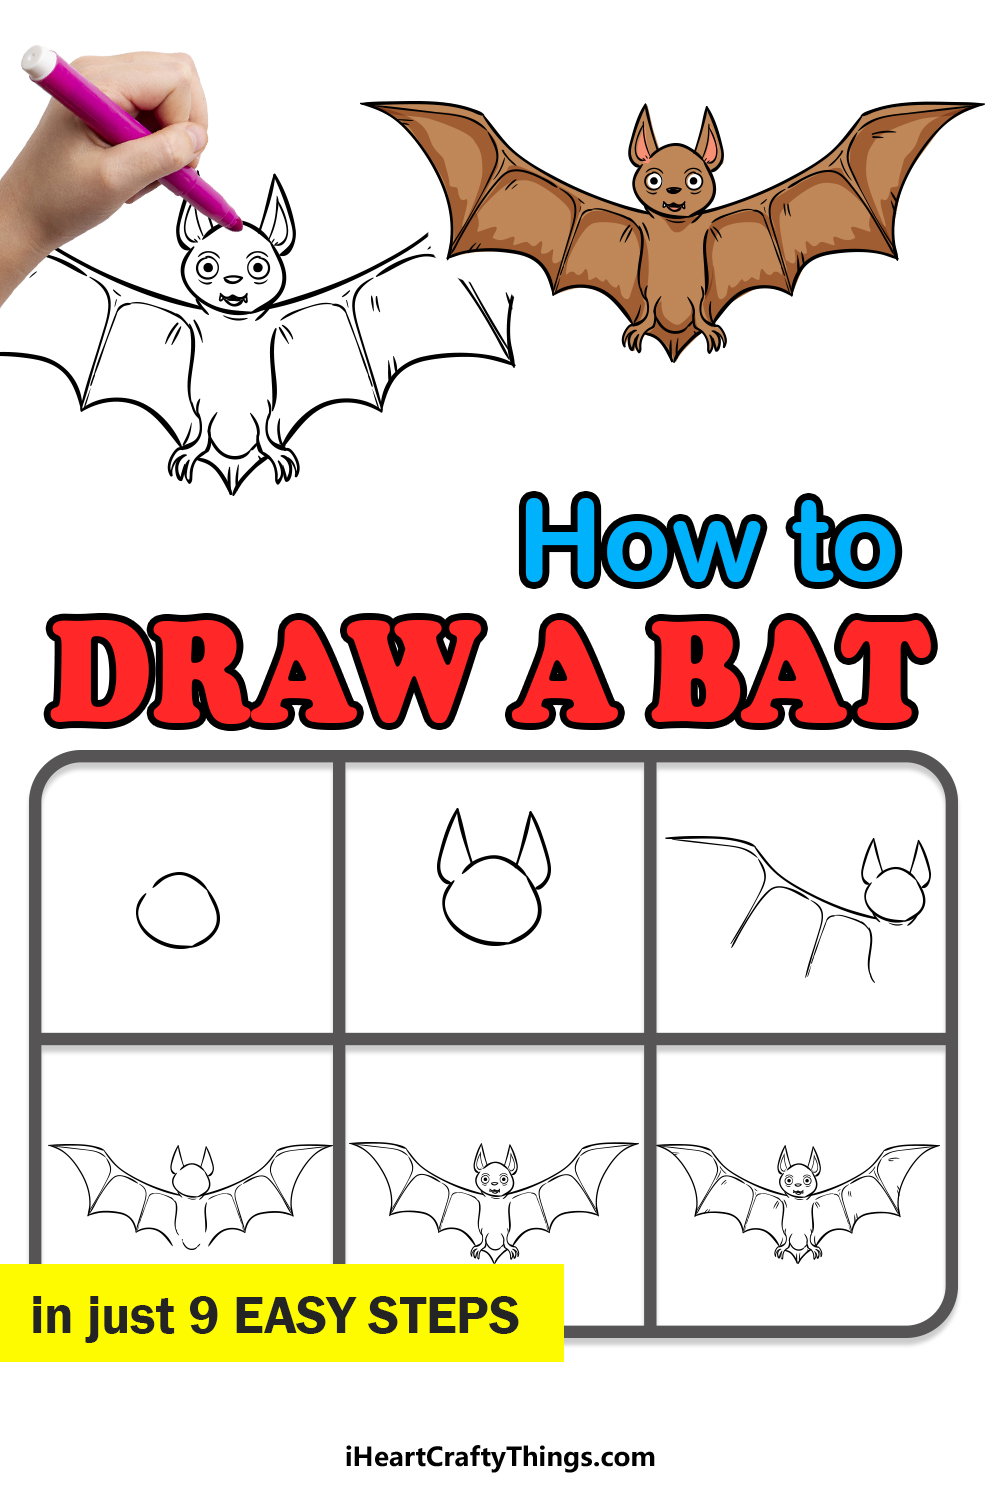

Source: https://iheartcraftythings.com/bat-drawing.html
Posted by: cundiffthaveling73.blogspot.com
0 Response to "How To Draw A Spotted Bat Step By Step"
Post a Comment